|
|
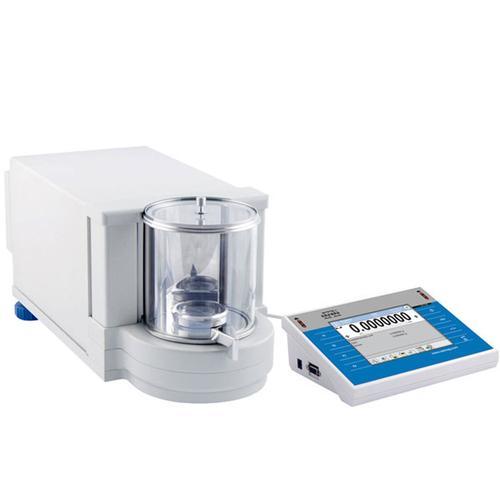
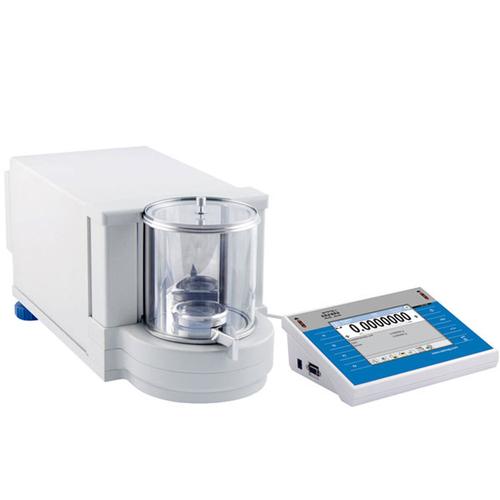
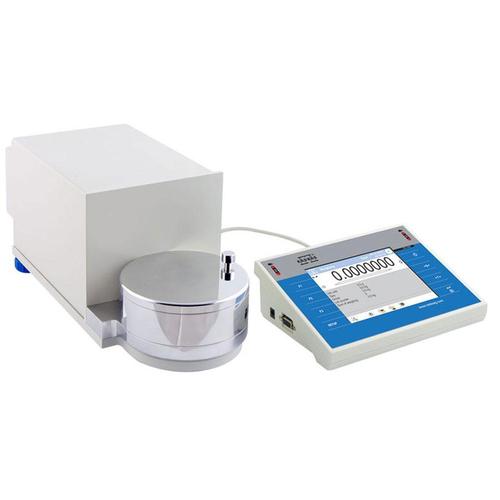
RADWAG UYA 2.4Y PLUS Ultra Micro Balance With Auto Level 2.1 g x 0.0001 mg |

|
| New generation of ultra-microbalances UYA 4Y is designed to meet the highest requirements for determination of mass. Its built-in system of automatic internal adjustment/calibration maintains excellent measurement reliability and accuracy more ... |
|
Laboratory Equipment >
Analytical Balances >
Ultra Micro - 0.0001 mg
|
|
|
|
|
|
Features
New generation of ultra-microbalances UYA 4Y is designed to meet the highest requirements for determination of mass. Its built-in system of automatic internal adjustment/calibration maintains excellent measurement reliability and accuracy
The device comprises two major components (an indicator and a precise mechanical measuring system which are enclosed separately). Such design eliminates an influence of heat sourcing from instruments electronics on its mechanical components and additionally protects it from shocks and vibrations caused by users operating the instrument. All the elements of a microbalance are made of glass and steel which eliminates an impact of electrostatics on weighing process.
Innovative 2-point adjustment system
Brand new adjustment system guarantees the highest measurement accuracy. It minimizes linearity errors simultaneously providing reliable indications for the whole weighing range.
Faster measurement with the new CPU
4Y balances feature Dual Core 2 x 1 GHz processor which delivers noticeable performance improvements including faster operation and shorter stabilization time retaining high repeatability values.
Monitoring and elimination of electrostatics
Installation of an additional deionizer module in a weighing chamber facilitates automatic detection and elimination of electrostatics effect to which both, sample and container intended for measurement may be subjected.
8 GB of memory – more data management possibilities
8 GB of memory offers possibility of recording data in a form of complex reports. Time and statistic data diagrams on series of weighments are another useful option.
The best possible repeatability and USP regulations conformity
The best weighing accuracy and repeatability – with sd = 1d combined with USP regulations conformity (Section 41 and 1251) make 4Y balances a new standard for mass measurement quality.
Ergonomics and safety
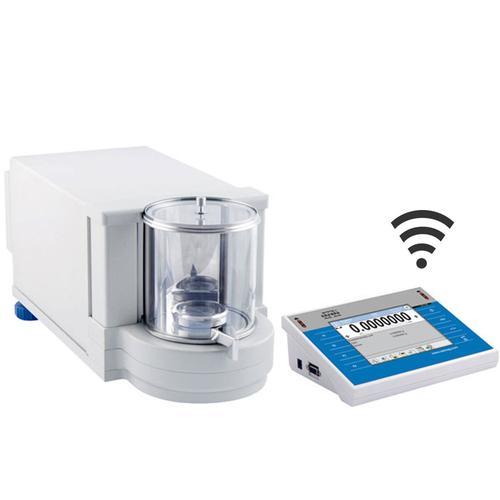
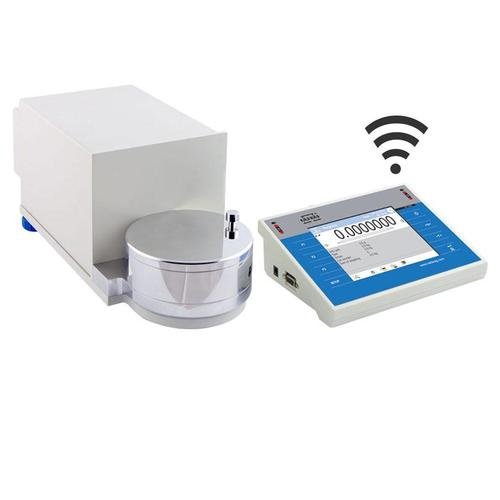
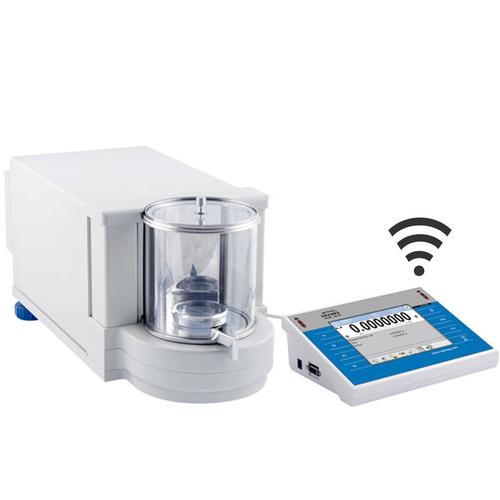
Wireless communication between balance terminal and a weighing unit make it possible to comfortably operate 4Y series balances in laminar air flow cabinets and fume cupboards.
Remote control operation
Wireless Connection offers wireless transfer of data recorded by 4Y balance to any portable device powered by iOS or Android systems using special applications intended for data management.
Data safety
Every single 4Y balance features ALIBI memory designed to provide protection and automatic recording of your measurements. Options such as data preview, copying and archiving are also available to users.
FEATURES
-
ELECTRONIC LEVEL INDICATOR
Functions:
- ALARM (out of tolerance notification)
- graphic level indicator
- programmable acceptable tilts
-
DATA EXCHANGE THROUGH USB STORAGE DEVICES
- update balance software
- export weighing data
- export/import databases
- export/import balance settings
- exchange data between balances
-
INFRARED PROXIMITY SENSORS
Functions:
- PRINT function
- TARE function
- sensors sensitivity adjustment
-
COMMUNICATION INTERFACES
- Ethernet
- 2×RS 232
- 2×USB
- additional display port
-
PORTABILITY
Extra option:
Balances with a wireless terminal
FUNCTIONS
- AUTOTEST - Diagnostic function aiming at metrological parameters determination (repeatability), the parameters are determined for the actual conditions of use. When speaking of repeatability it may be also used for weighing time optimization. Autotest is operated in an automatic mode thus operator’s time is saved.
- CHECKWEIGHING - Checkweighing function is used for checking whether the measured sample mass is within the predefined threshold values, Low [LO] and Hgh [HI]. The thresholds are given in [g] and [kg] units. Current state of a sample being measured is signalled by means of pictorgams located on a display for laboratory balances, for industrial scales Stackligt System is used. This visual /- inspection is in operation during segregation, control or packing process of products for which mass has bees determined with a specifaied tolerance, eg. 12860 g 961
- DOSING - Weighing process for which reference mass has been determined together with tolerance for its determination. Dosing tolerance is given in [%] and it is calculated in relation to the reference value thus being a permissible deviation of this process. This solution is used for weighing powders, liquids and loose materials. Dosing function performance is often supported with bargraph - load indicator. For industrial scales it is possible to use a control systems of dosing process
- PIPETTES CALIBRATION - Function verifying correctness of piston pipettes functioning, the verification is performed via gravimetric measurement of the excreted liquid. Pipettes calibration may be either a stand-alone module or it may be operated
- AIR DENSITY CORRECTION - Function performing correction of mass measurement indication, wherein the air density is taken into account. It is used in balances with reading unit < 0,01 mg.
- PARTS COUNTING - Function using mass measurement for determination of measured items quantity. Mass of a single item is required for this process. It may be either estimated through weighment or taken from a database. For items counting the following algorithm is used: all items mass / single item mass = quantity. Function operation is supperted by a mechanism of Automatic Correction of Accuracy. This allows to update single item mass in course of the process. To a certain extend Automatic Correction of Accuracy eliminates error which may be a result of different mass values of seemingly alike single elements. For industry solutions items counting may be simultaneously carried out with checkweighing and dosing thus industry solutions feature audio signalling base informing that specified number of items has been weighed. It is possible to apply weighing systems using few platfroms of different MAX capacities and different accuracies.
- PERCENT SETUP - Percent setup function is used for comparision of measured products with mass standard. Mass of a mass standard may be a numeric value taken from a database or it may be determined through a measurement process. Each measured product is compared to mass standard, mass of which is presumed as a model 100% ideal mass. For products weighing less than the mass standard, obtained results are lower than 100%, for products weighing more, the obtained results are greatly excessed.
- NEWTON UNIT MEASUREMENT - Function allowing to perform the measurement in Newton unit, it may be used for processes aiming to determine force resulting in the sample damage
- GLP PROCEDURES - Diagnostic function allowing to objectively document performed measurements. GLP procedures may be either presented in a short report form or extended one.
- AUTOMATIC SLIDING DOOR - Door opened automatically
- ALIBI MEMORY - The used ALIBI memory is a data secure area and allows to record up to 100 000 weighment records. It ensures security of constant data register in the long time period.
- FORMULATION - Function supporting the mixture making process, wherein the mixture contains various components. Formulation function usually uses the balance/scale database of components. Formulation serves for monitored checkweighing of every single component with a given tolerance. It is enriched with a set of individual settings.
- IR SENSORS - Programmable function supporting the weighing process through control of the following options: sliding weighing chamber doors, printout, zeroing, tarring etc. Especially appreciated wherever preventing the balance from soiling is important
- STATISTICS - Statistiscs function registers and analyses performed measurements. This supplies the user withthe following information: Max and Min standard deviation, average value, variance, range et.
- ANIMAL WEIGHING - Process of mass determination for a product which may unwillingly reposition within the weighing pan. Mass determination in such cases requires much longer period of time when compared to typical weighing process. It is the user who defines period of time needed for control of measured product mass. The user can thus optimaze the function depending on the measured product characteristics.
|
2 Year Manufacture Warranty
|
Other RADWAG UYA 4Y-Series Ultra Micro Balances
| Image |
Name |
Price |
|
|
$26,732.50
|
|
|
$27,315.60
|

|
|
$24,754.55
|
|
|
$25,340.20
|
|
|
$24,240.30
|

|
|
$24,824.25
|
|
|
$24,240.30
|

|
|
$24,824.25
|

|
|
$29,111.65
|
|
|
$29,697.30
|

|
|
$31,603.85
|

|
|
$32,188.65
|
|
Specifications
| Model |
UYA 2.4Y |
UYA 2.4Y PLUS |
UYA 2.4Y.F |
UYA 2.4Y.F PLUS |
UYA 6.4Y |
UYA 6.4Y PLUS |
| Model with Wireless Terminal |
UYA 2.4Y.B |
UYA 2.4Y PLUS.B |
UYA 2.4Y.F.B |
UYA 2.4Y.F PLUS.B |
UYA 6.4Y.B |
UYA 6.4Y PLUS.B |
| Capacity x Readability |
2.1 g x 0.1 µg |
2.1 g x 0.1 µg |
2.1 g x 0.1 µg |
2.1 g x 0.1 µg |
6.1 g x 0.1 µg |
6.1 g x 0.1 µg |
| Tare range |
-2.1 g |
-2.1 g |
-2.1 g |
-2.1 g |
-6.1 g |
-6.1 g |
| Linearity |
±1.5 µg |
±1.5 µg |
±1.5 µg |
±1.5 µg |
±1.5 µg |
±1.5 µg |
| Eccentric load deviation |
1.5 µg |
1.5 µg |
1.5 µg |
1.5 µg |
1.5 µg |
1.5 µg |
| With Auto Level |
- |
YES |
- |
YES |
- |
YES |
| Minimum weight (USP) |
0.8 mg |
0.4 m |
| Minimum weight |
0.08 mg |
0.04 mg |
| Pan size |
ø 16 mm |
ø 50 mm |
ø 16 mm |
| Weighing chamber dimensions |
ø 90 × 90 mm |
ø 118 × 35 mm |
ø 90 × 90 mm |
| Stabilization time |
10÷20 s |
| Working temperature |
+18 ÷ +30 ºC |
| Working temperature change rate |
±0,3 ºC/h (±1 ºC/8h) |
| Adjustment / Calibration |
automatic (internal) |
| Power supply |
13,5 ÷ 16 V DC / 2,1 A |
| Casing of the terminal |
ABS plastic |
| Display |
Color 5,7’(640x480) with a resistive touch screen |
| Processor |
2 × 1 GHz |
| Memory |
RAM: 256 MB DDR2, flash: 8 GB microSD |
| Interface |
2×USB host, 2×RS 232, Ethernet 10/100 Mbit, Wireless Module - optional |
| Audio module |
YES (voice messages support) |
| Video support |
YES (videos and multimedia instructions) |
| IN / OUT |
4 in / 4 out (digital |
| Ambient conditions |
| Working temperature |
+10 º ÷ +30 ºC |
| Change rate of working temperatures |
±0,3ºC/1h (±0,5ºC / 12h) |
| Relative air humidity ** |
40% ÷ 80% |
| Change rate of atmospheric humidity |
40% ÷ 60% (±5% / 4h) |
Rt - net weight
** - Non-condensing conditions
Additional equipment
- Anti vibration table for microbalance
- Profesional weighing table
- Impact Epson printer
- Label printer Citizen
- Anti draft shield for microbalances
- "Tare" and "Print" foot button
- "PW-WIN" computer software
- "RAD-KEY" computer software
- "REC-FS" computer software
- Antistatic ionizer DJ-03
- Ambient conditions module
- Additional LCD display "WD-5"
- PC keyboard
- Power adapter with battery and charger ZR-02
- Mass standard
- Antistatic cable
- Bar code scanner
- Cable RS 232 (balance - computer) "P0108"
- Cable RS 232 (balance - Epson, Citizen printer) "P0151"
|
|
|
|
* within the 48 continental US States
|
| |
|
|
|
|
|

